Walkthrough
This here is the walkthrough, if you're having trouble with the game, or just want to beat it as soon as possible. This will be a step by step guide, for easy reading!
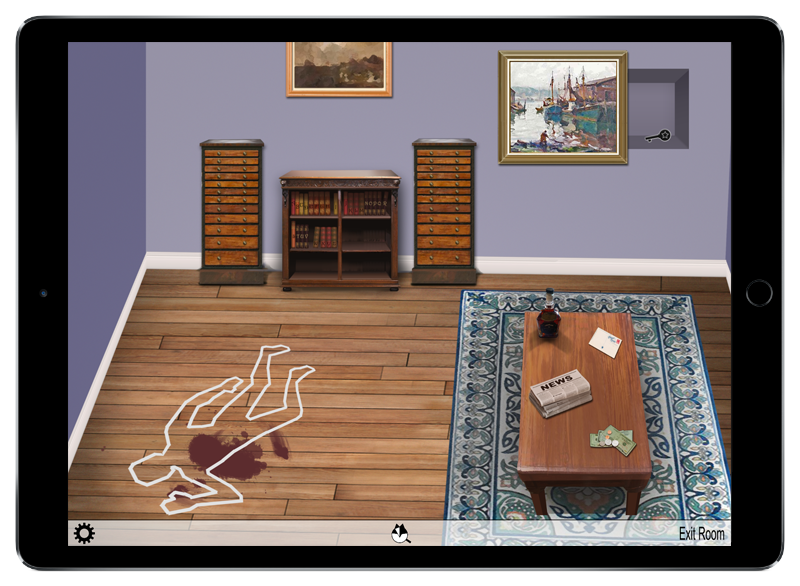
1 - Hallway


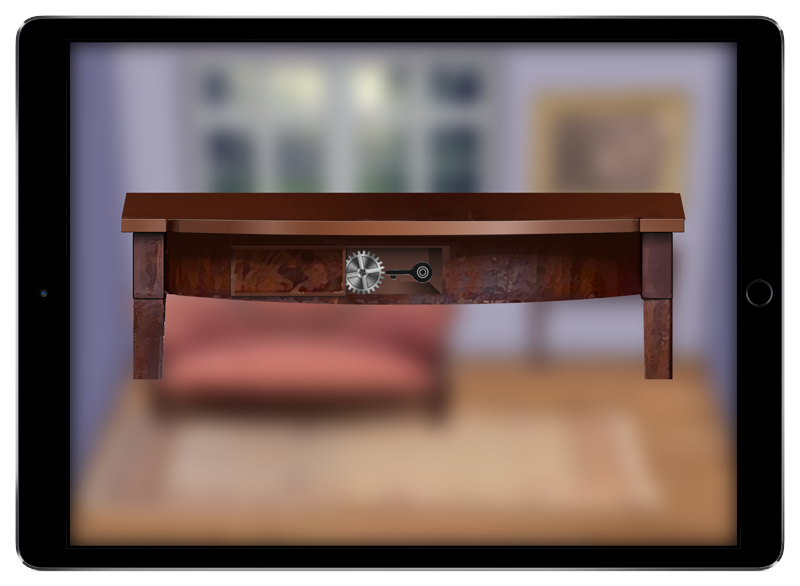
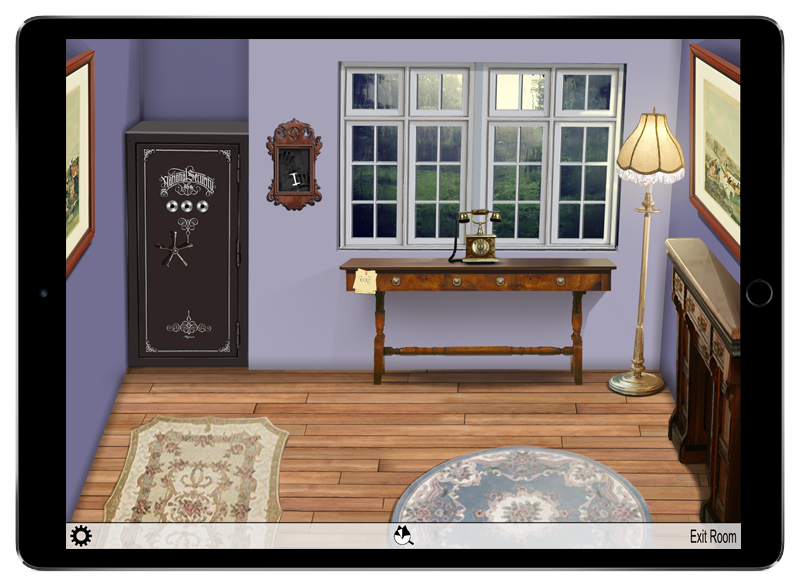
As soon as you start the game you'll be greeted by a comic style intro sequence and then you will start in this hallway. To start, you want to tap on the the clock and dresser door to reveal a Moon Key and a Gear, then just tap on those to collect them. With the Moon Key in hand, you want to tap on that Moon Door to open it and enter your next room.
2 - Moon Room

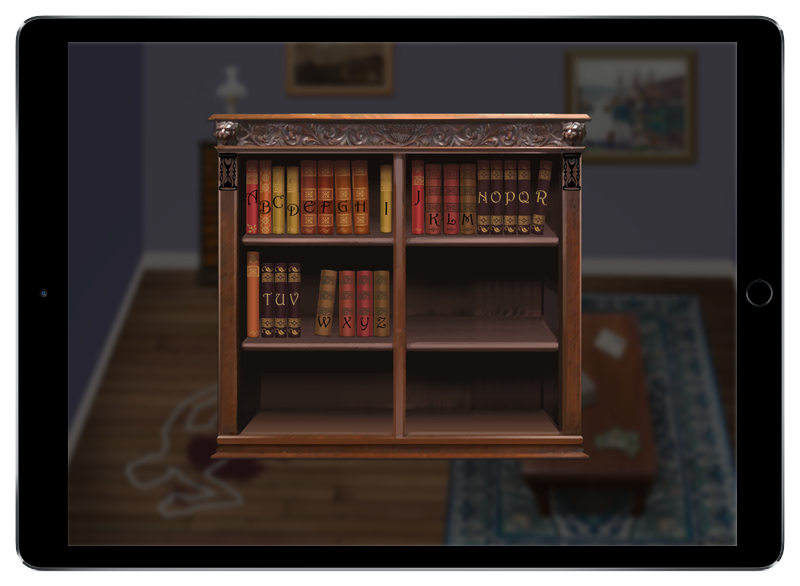


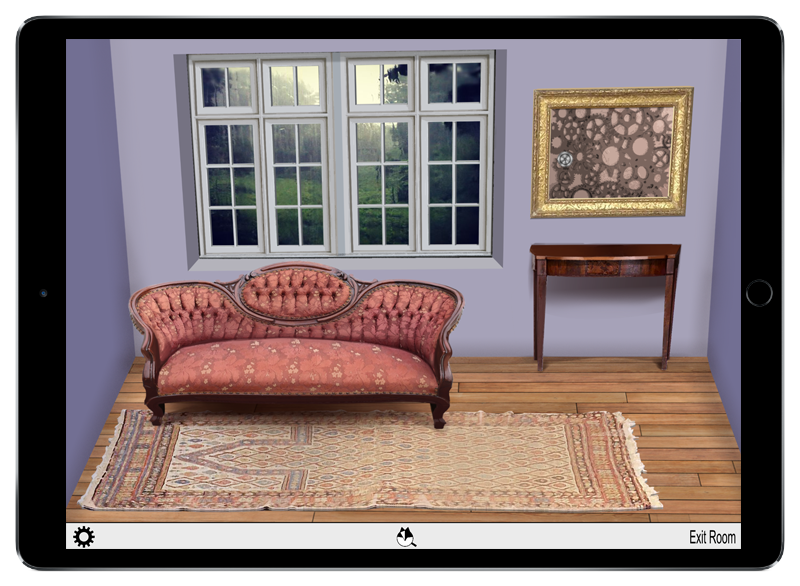
When you enter the Moon Room look through the shelves in the back of the room to find the first gear item and another clue. Next you'll want to examine the bookshelf then go ahead and tap Book I you'll see a small riddle at the bottom of the page in reverse spelling of Three, Seven, and Six keep a mental note of that. After that go ahead and slide the big painting to the left to reveal a Star Key go ahead and collect that in order to enter the Star Room. Finally go ahead and examine the table and take the card, revealing a clue.
3 - Star Room
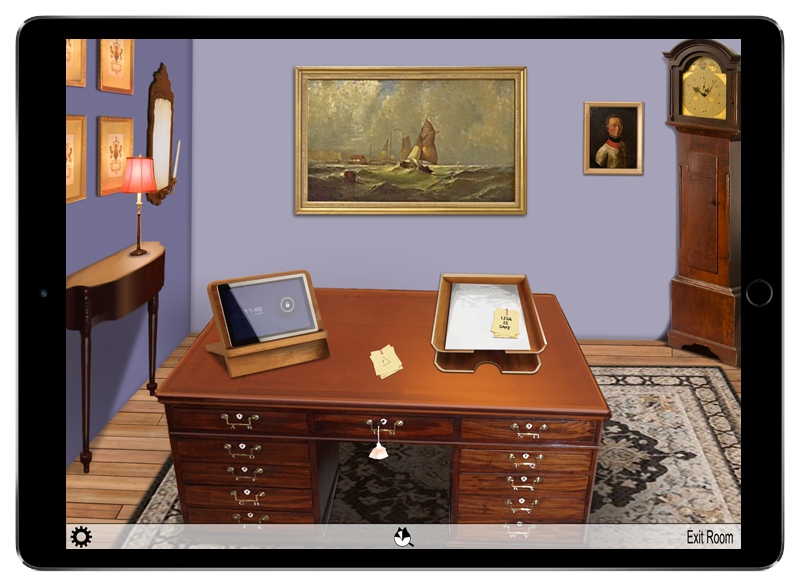


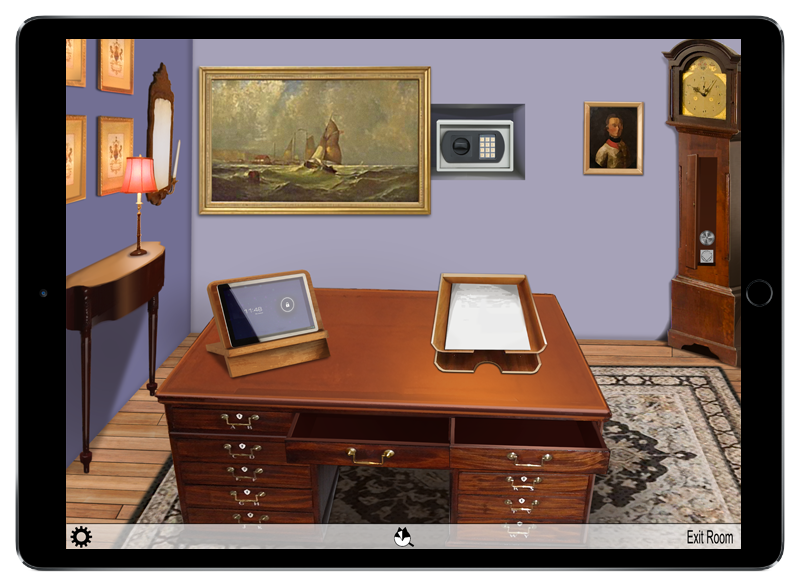
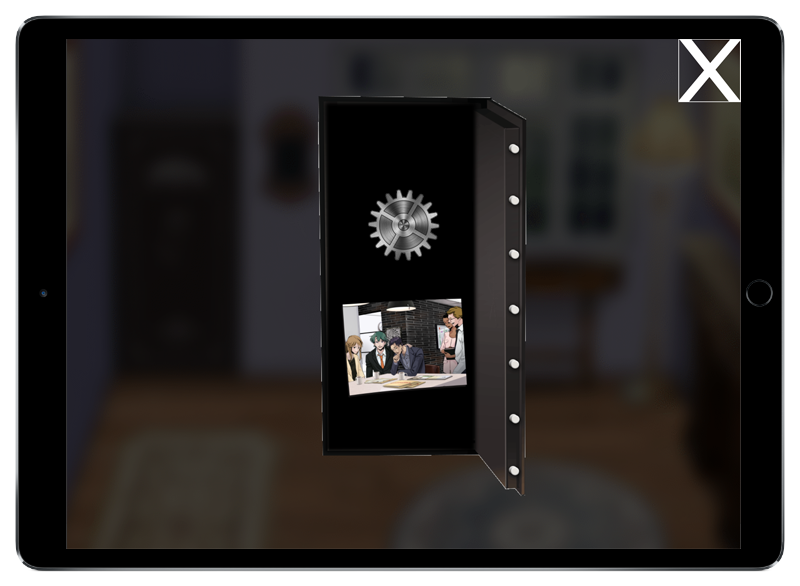
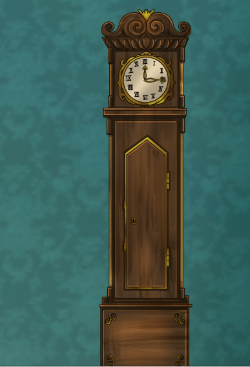
In the Star Room theres a note/clue on the desk in the tray to collect. You'll want to tap on the center and right drawer to open them up and reveal another gear and one of two octagram stars. If you slide the big painting to the left you'll reveal a safe behind it, we'll get back to it in a moment. You'll notice a time frozen on the ipad, go ahead and enter 11:48 on the grandfather clock face to open up a compartment. Inside the compartment is another gear and the second ocatagram star. You want to open up your inventory by pressing the magnafiying glass at the bottom of your screen, in there match up the numbers to LISA as noted from the message Lisa is Safe. Enter the matched numbers 4682 into the safe and then take the Sun Key and enter the Sun Room right next door.
4 - Sun Room

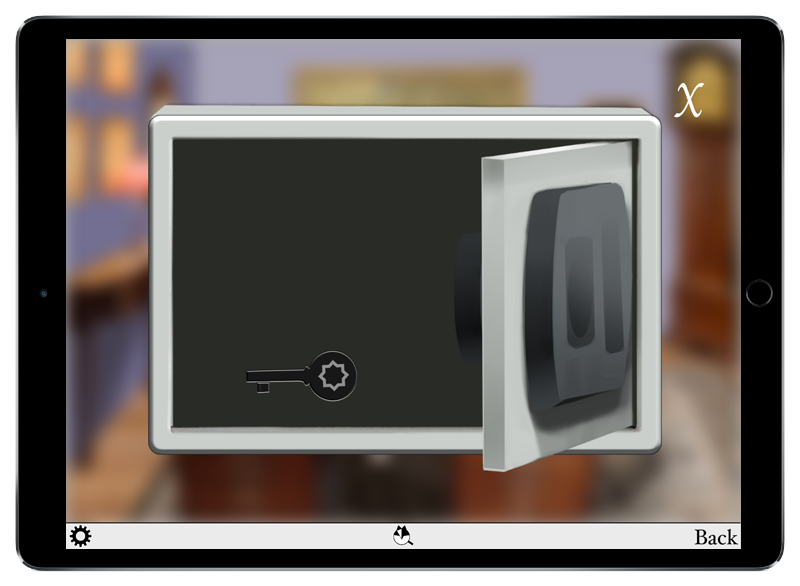
Now in the Sun Room, examine the nightstand and slide that little compartment door revealing another gear to collect and a Circle Key. There's nothing more to do here until a little later, so go ahead and leave then enter the Circle Room.
5 - Circle Room
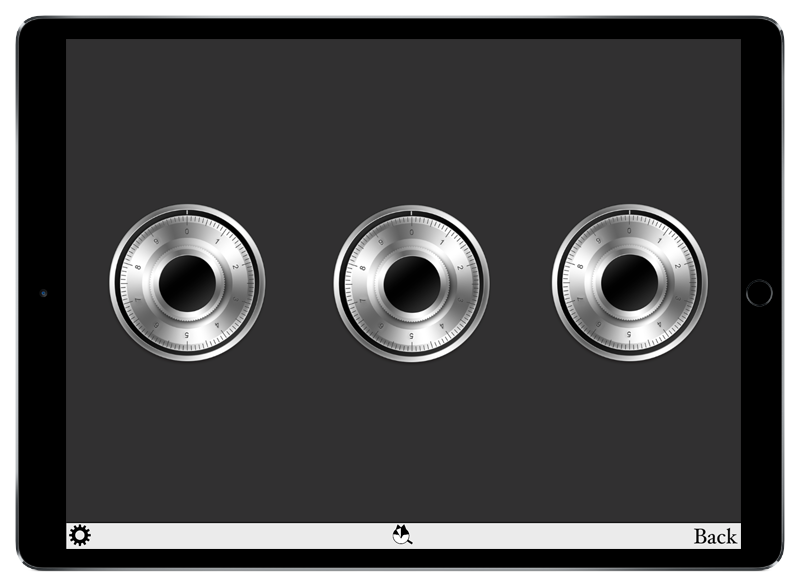
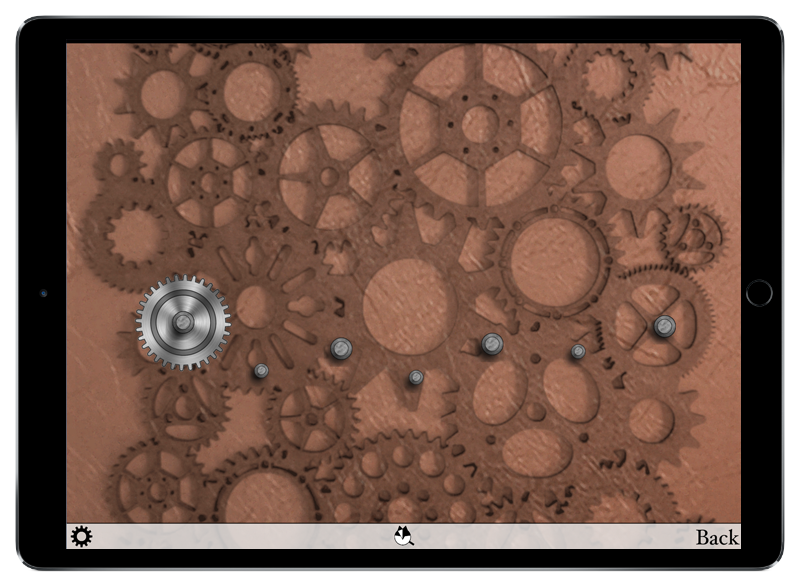
As soon as you enter the Circle Room answer the ringing phone, and then you'll be greeted by a mysterious comic scene. Then after that collect a clue/note on the right side of the screen, you'll notice the letter " I " written on the chalk board. If you recall from earlier there was a something written in book I, go ahead and enter 3 7 6 via the turn dials. When you have successfully entered the right combination, the safe will open then go ahead and collect the note and yet another gear. Now you have all the gears, so you can leave and go back to the Sun Room
6 - Sun Room *revist*

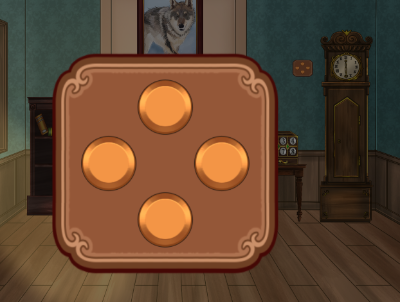
Back in the Sun Room, you want to go ahead and tap the painting with the gears then drag and drop your gears you've collected from your inventory to the slots on the painting. Once you've connected all the gears, you'll notice that somethings happened... now you can go back into the hallway.
7 - Hallway *revist*
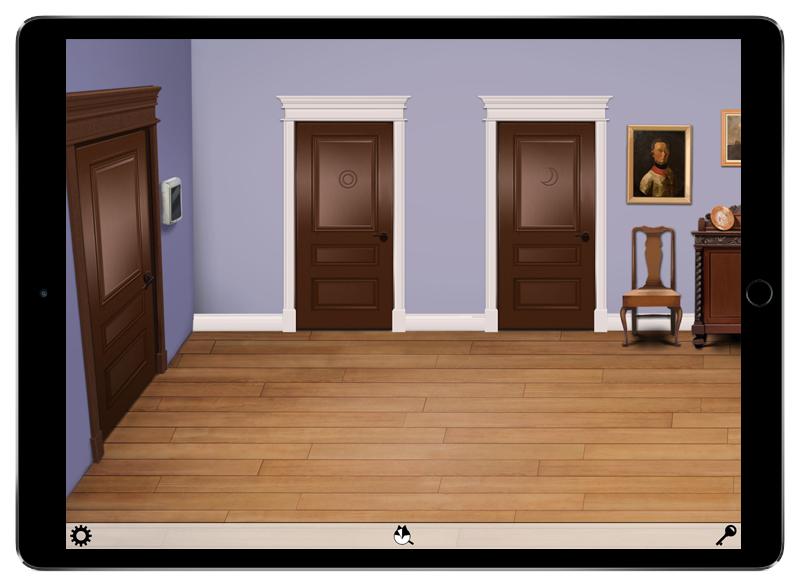
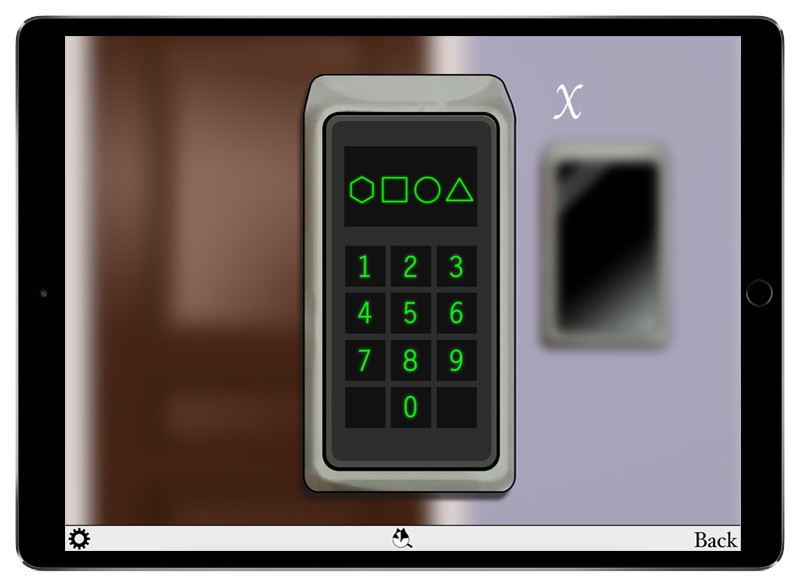
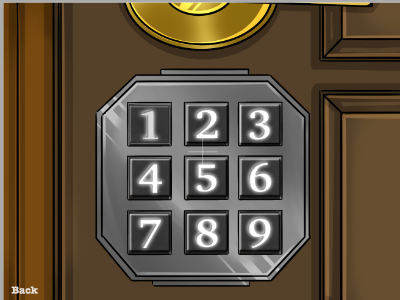
Once in the hallway again, you'll want to scroll to the end of it and examine the keypad on the wall. The keypad wouldnt work normally if you didn't connect any of the gears. On the keypad you'll notice 4 different shapes that correlate to the numbers of each of the shapes that you have from 2 notes found, as well as 2 paintings in 2 of the rooms. You'll want to enter 6471 on the keypad, if successful you'll be greeted with the final comic cutscene.
Chapter 1 has been completed. Next you will be shown a screen with an option to purchase chapter 2.
8 - Second Hallway

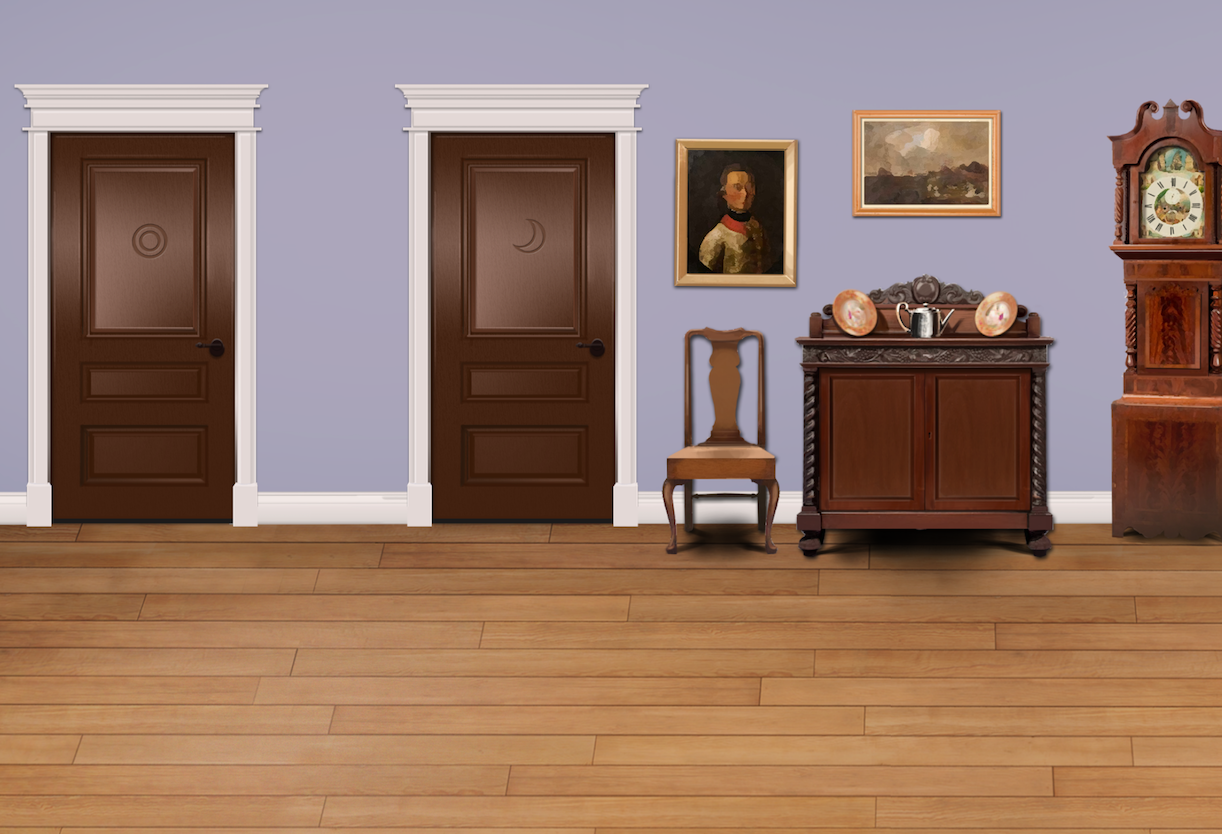
Once in the second hallway go to the table and pick up the business card on the table. Then return to the first hallway and tap on the chair in the hallway. You will find the dragon key here after the comic scene.
9 - Dragon Room
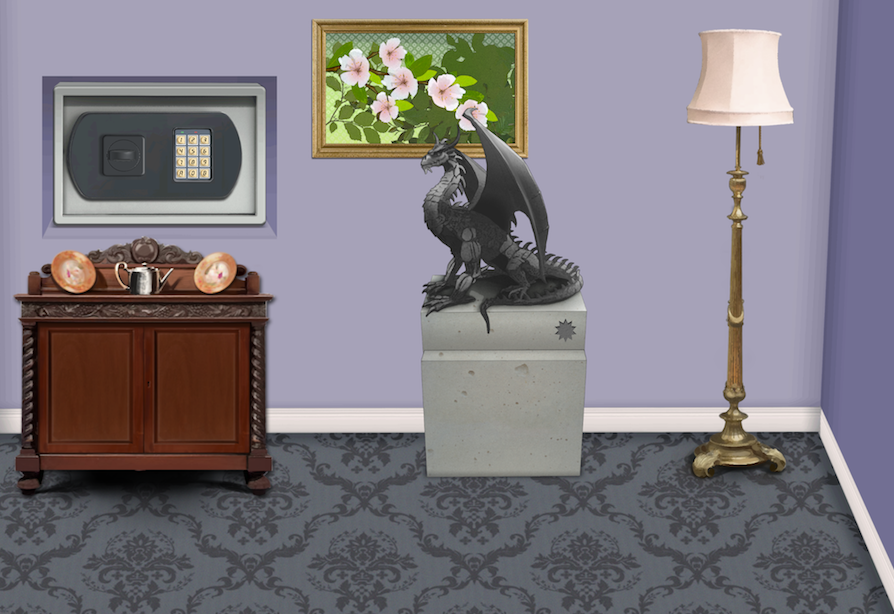
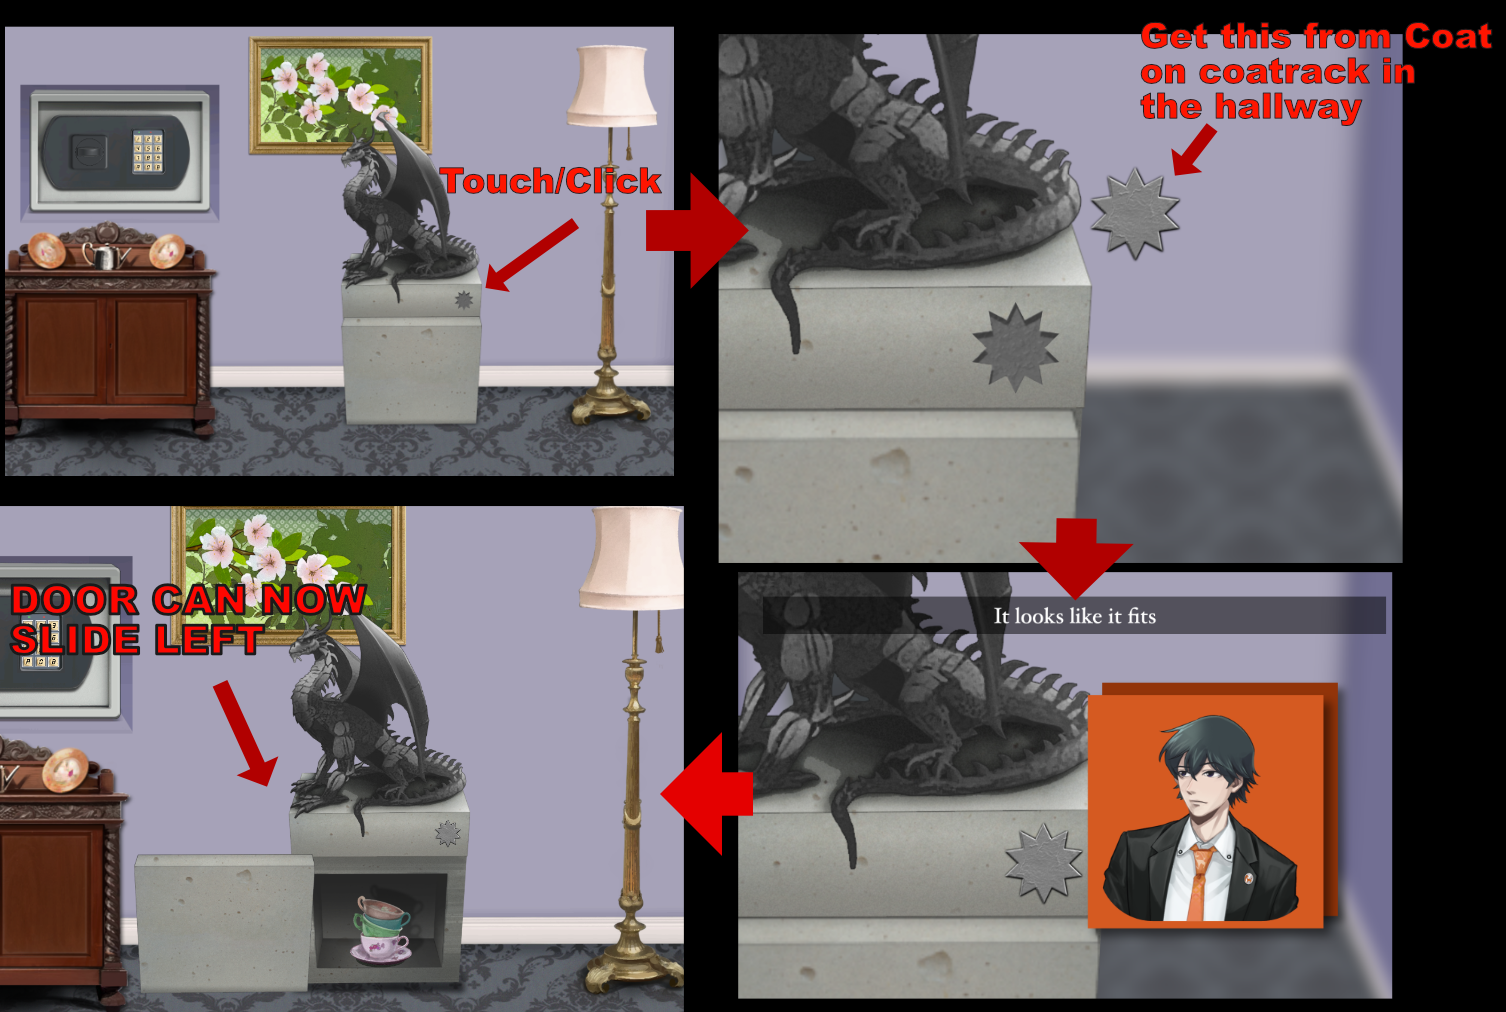
The combination to the safe in this room is 7684. You find this after examining the paintings in the hallway and the dragon room that are suggested by turning the lamp on.
10 - Chess Room
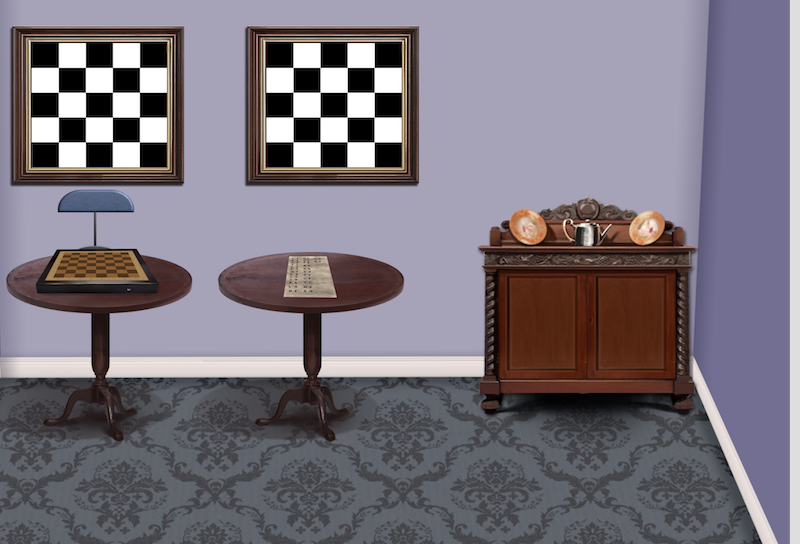
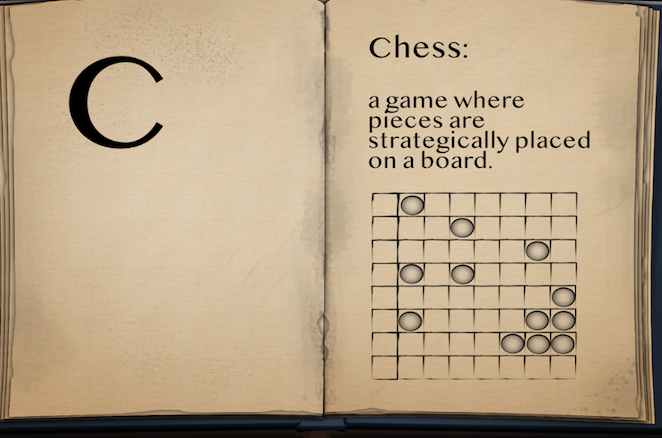
The solution for the chess puzzle is found in the book shelf in the first hallway Moon Room, the book with the letter C holds the solution. The combination to the safe in this room is 5283.
11 - Compass Room
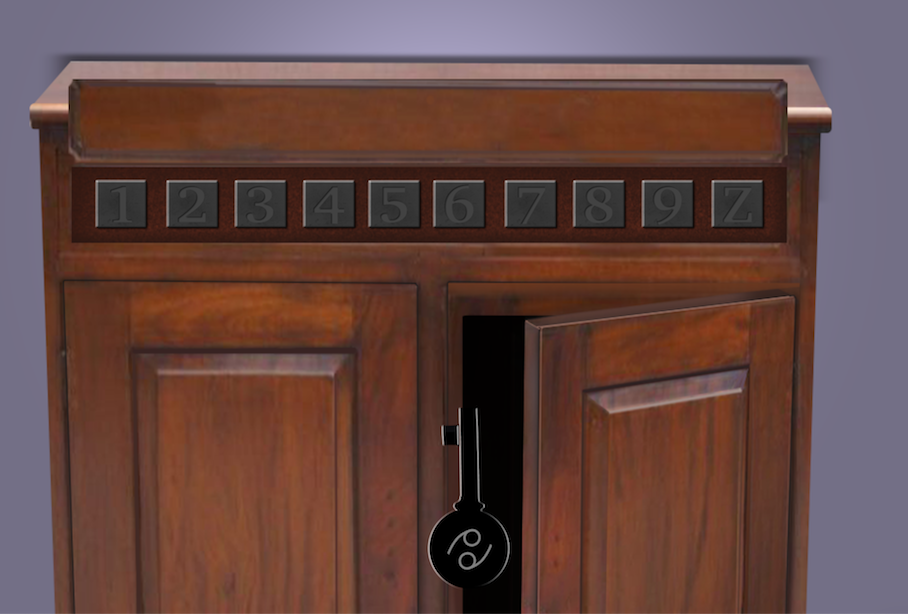
The solution for the cupboard puzzle is 76693. This will give you the key to the next room.
12 - Cat Room
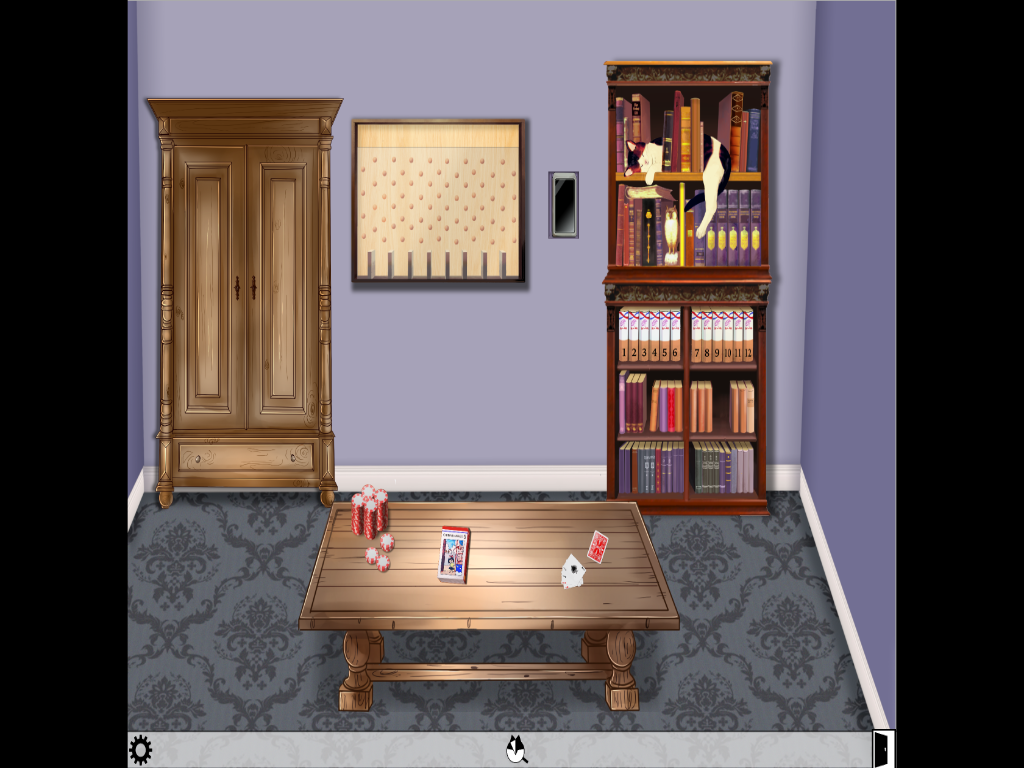
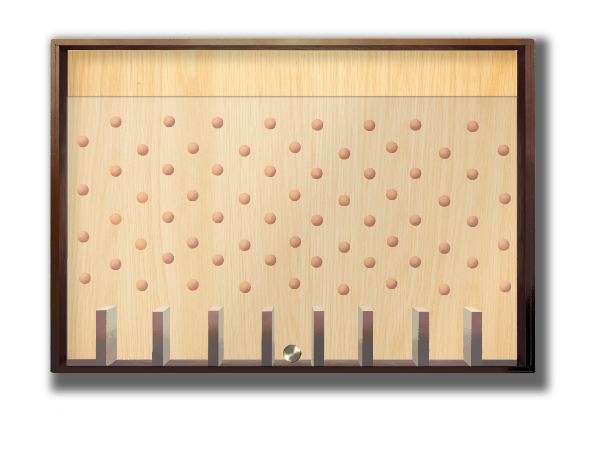
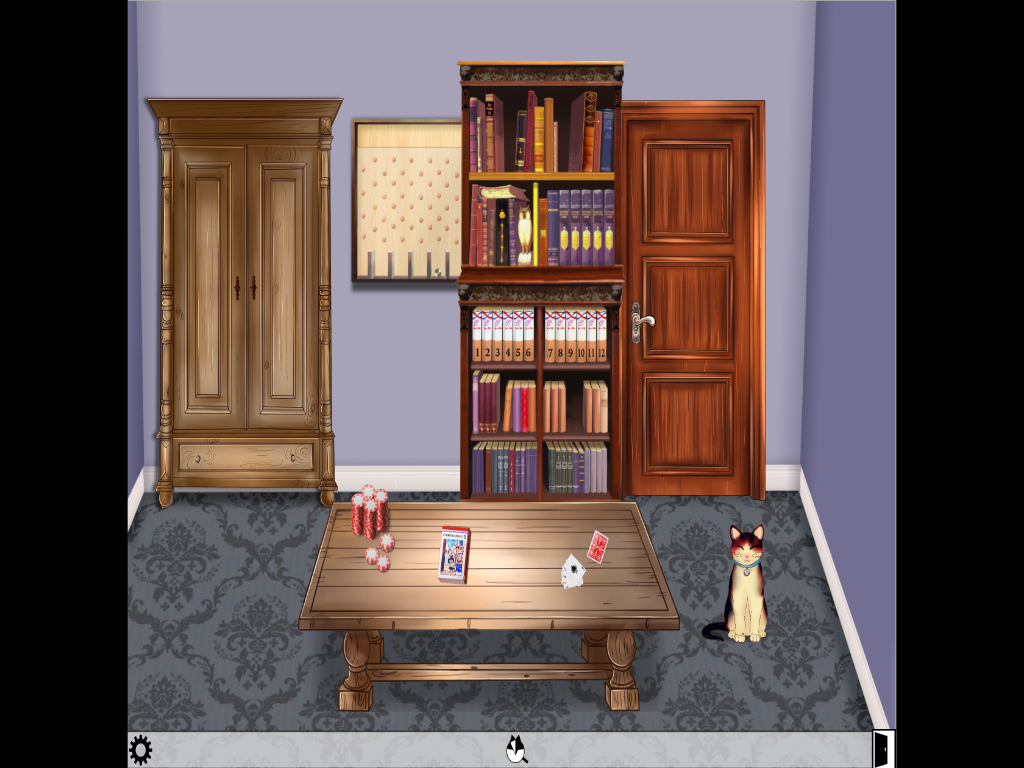
Pick up the coin on the table. Look at the wooden puzzle in the middle of the room and use the coin. You must drop the coin and try to get it to fall into the centre slot. This will activate the keypad to the right of the puzzle. To get the sleeping cat off of the shelf you need to go back into the hallway and ring the bell on the table. The cat will then be standing in the room when you enter it next. It has a 79 written on the colar and the 'Chibimakano' manga on the table is volume 5 and there are 4 Aces. These are the clues you need to solve the keypad. The clue you collect from the drawer hints at this. The keypad passcode is 7954. This will reveal a secret door hidden behind the bookshelf which leads to the final comic scene.
13 - Second House Outside
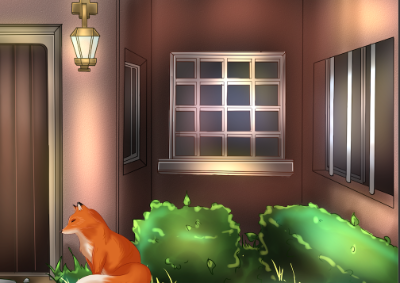
Scroll to the far right and click on the open window.
14 - The Tea Room
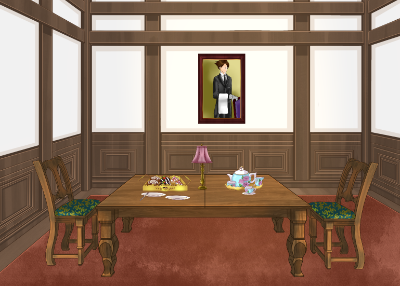
Examine the room and click on the teaset. Then head to the room with the water kettle. Pick up the kettle and return to the tea room. Once again click on the tea set.
15 - The Tea Room Quiz
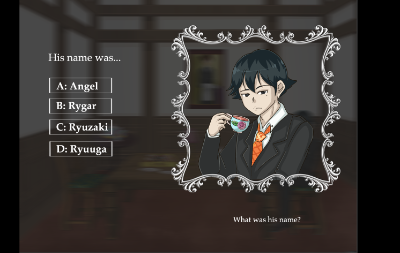
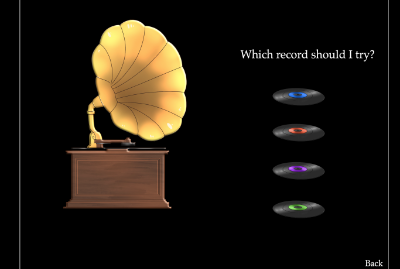
The correct Quiz Answer is D. Ryuuga. Head back to the room where you collected the water kettle and you will find a broken vase with records on the floor. Collect the records. Then click on the phonograph and select the Red record.
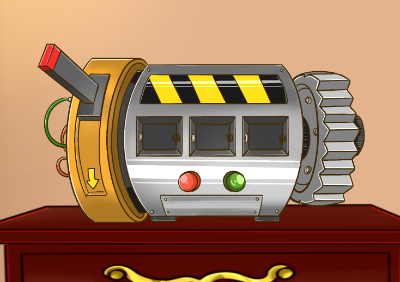
16 - The Gears Puzzle
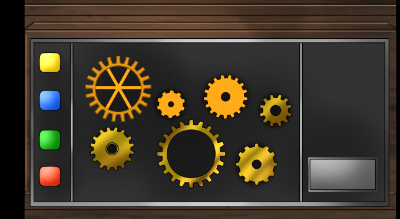
The correct sequence of buttons is Red, Blue, Green, Yellow, Red, Red, Blue
17 - The Clock Room

The solution to the box puzzle is 533533. It will reveal a battery and the fire in the fireplace will now be out so you can now collect the clock key from there. Change the clock to 12:15 and then click on the clock and select the key from the item menu and click on the clock door with key inserted. Make sure the clock is set to 12:15.
18 - The Lever Machine and Laptop Room
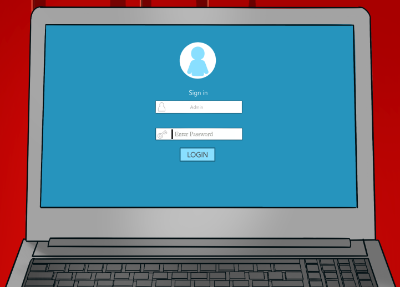
Insert all 3 batteries into the lever machine by selecting them from the items menu and then pull the lever down. The door on the left will now be unlocked. The laptop password is HATLMBH
19 - They Keypad at the third house
They keypad code is "4267"